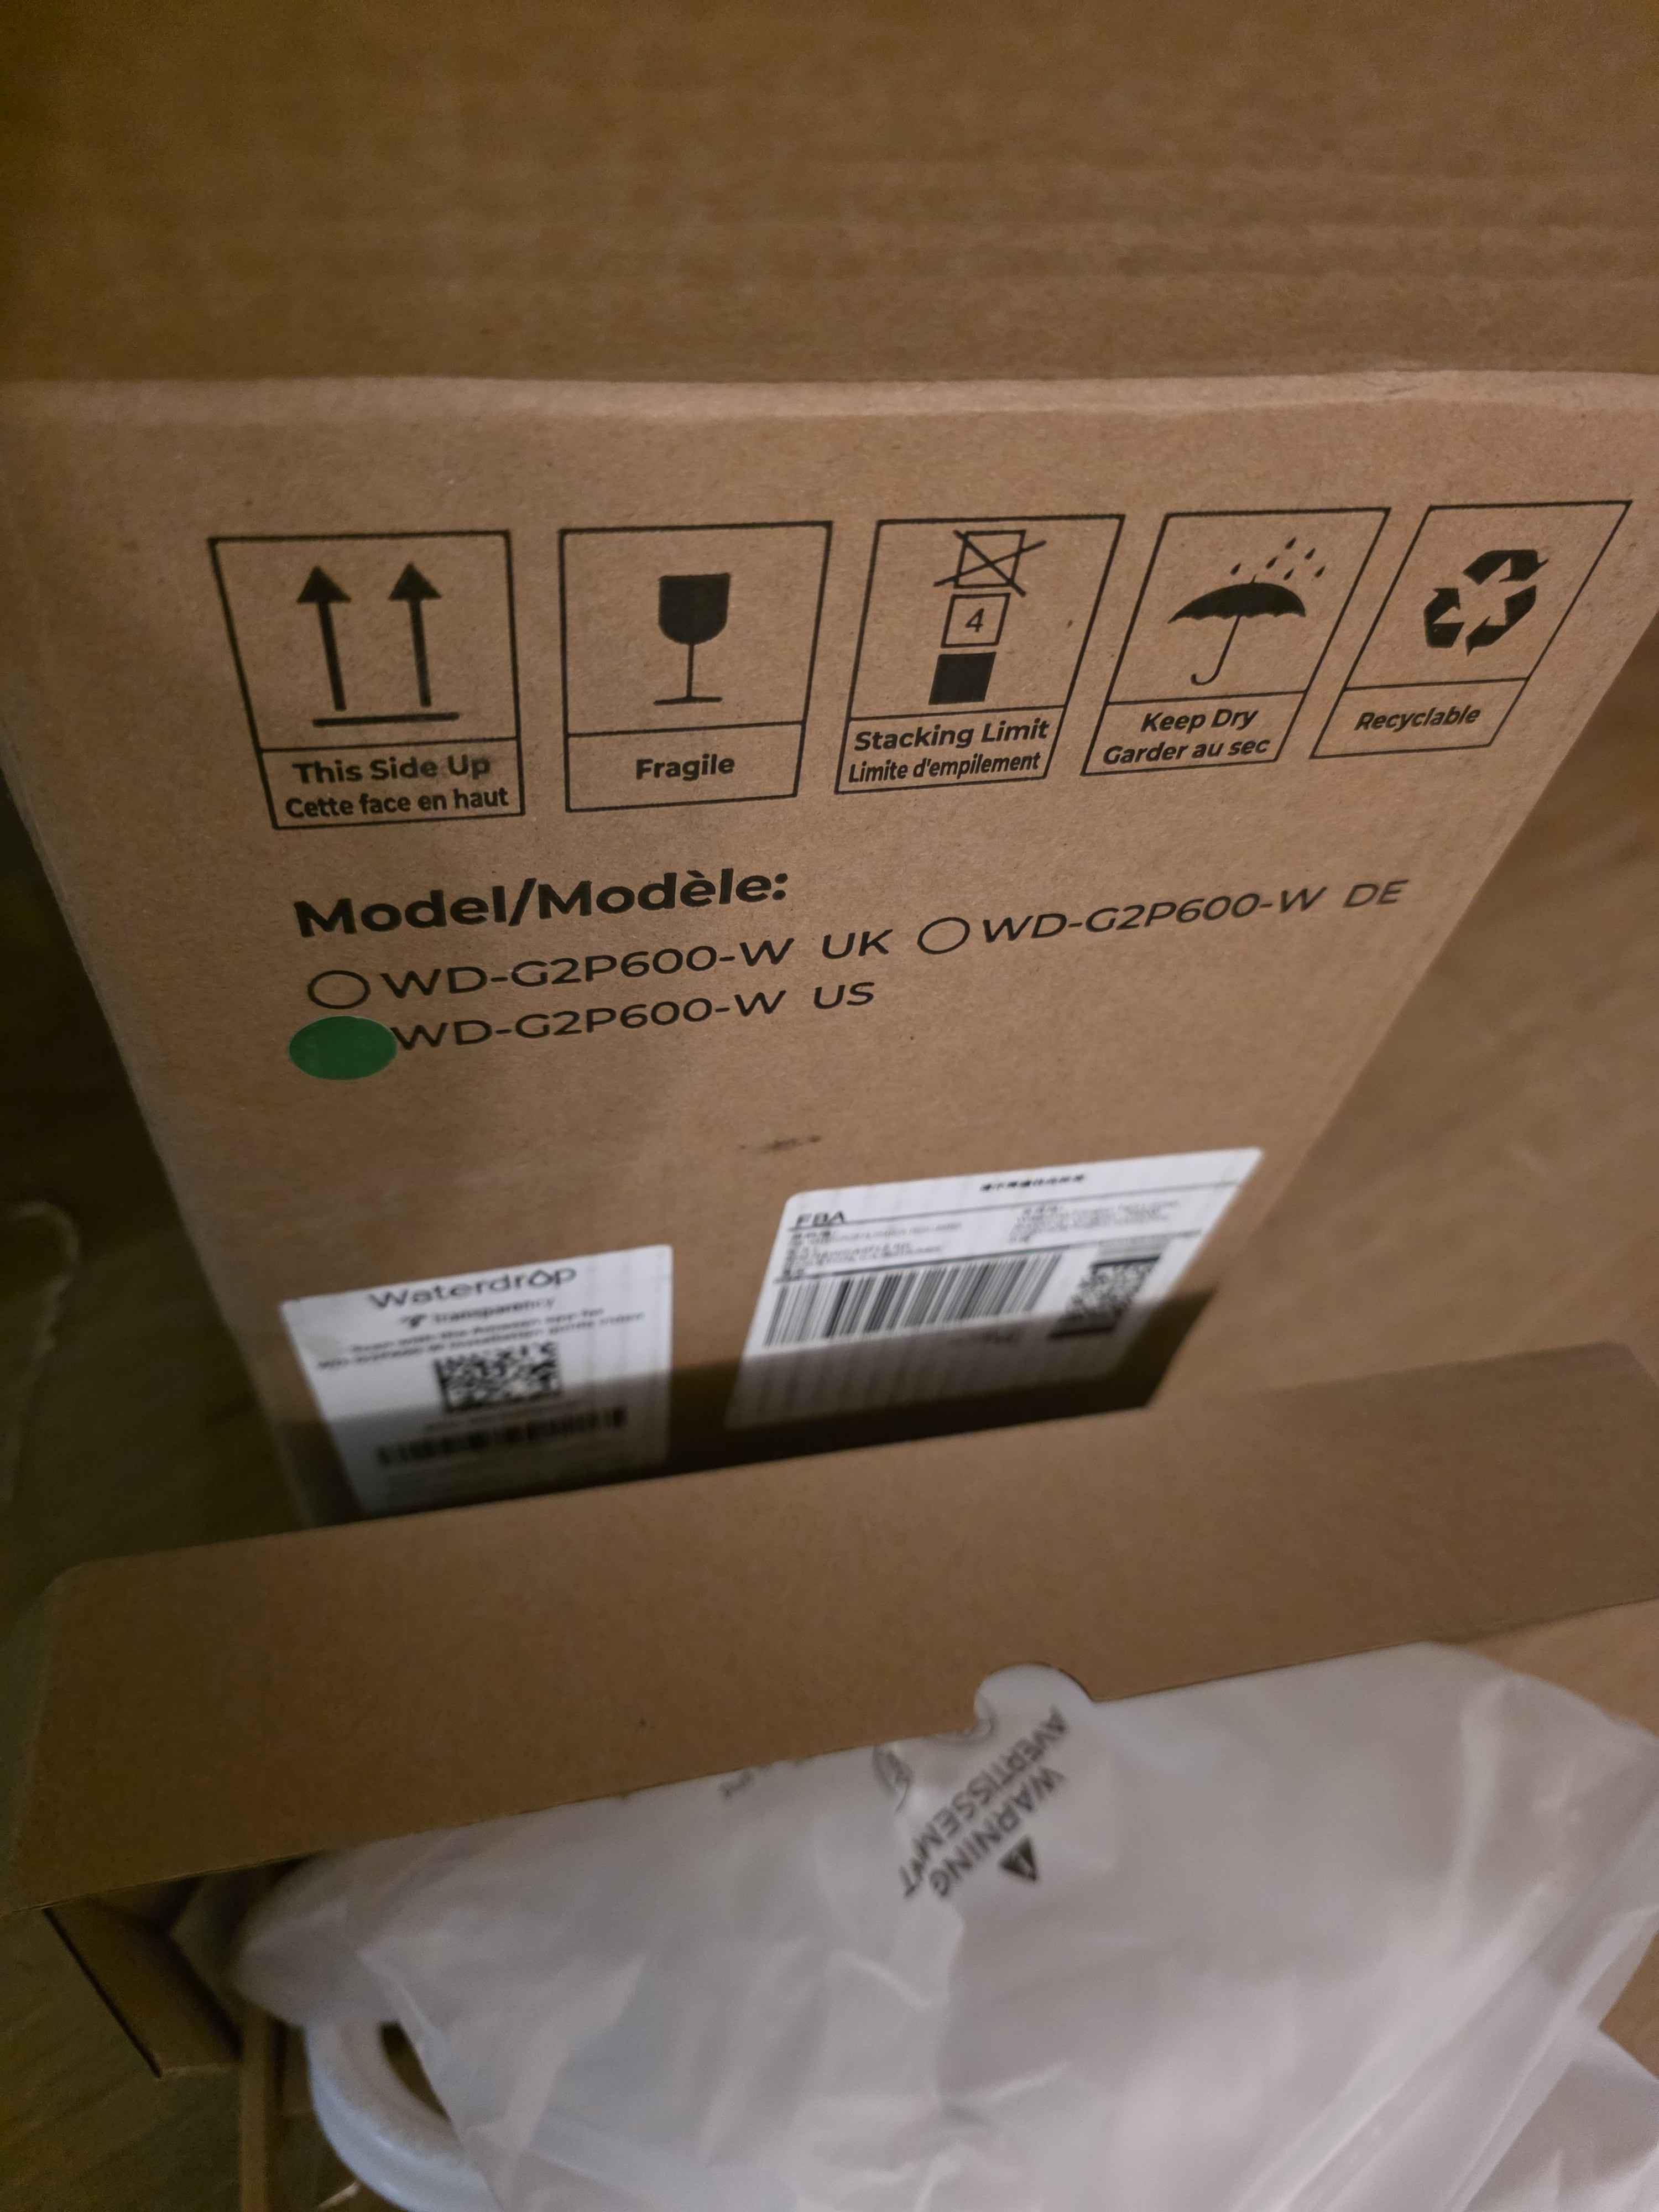
💧 Waterdrop G2P600-W RO + Kitchen Faucet Install
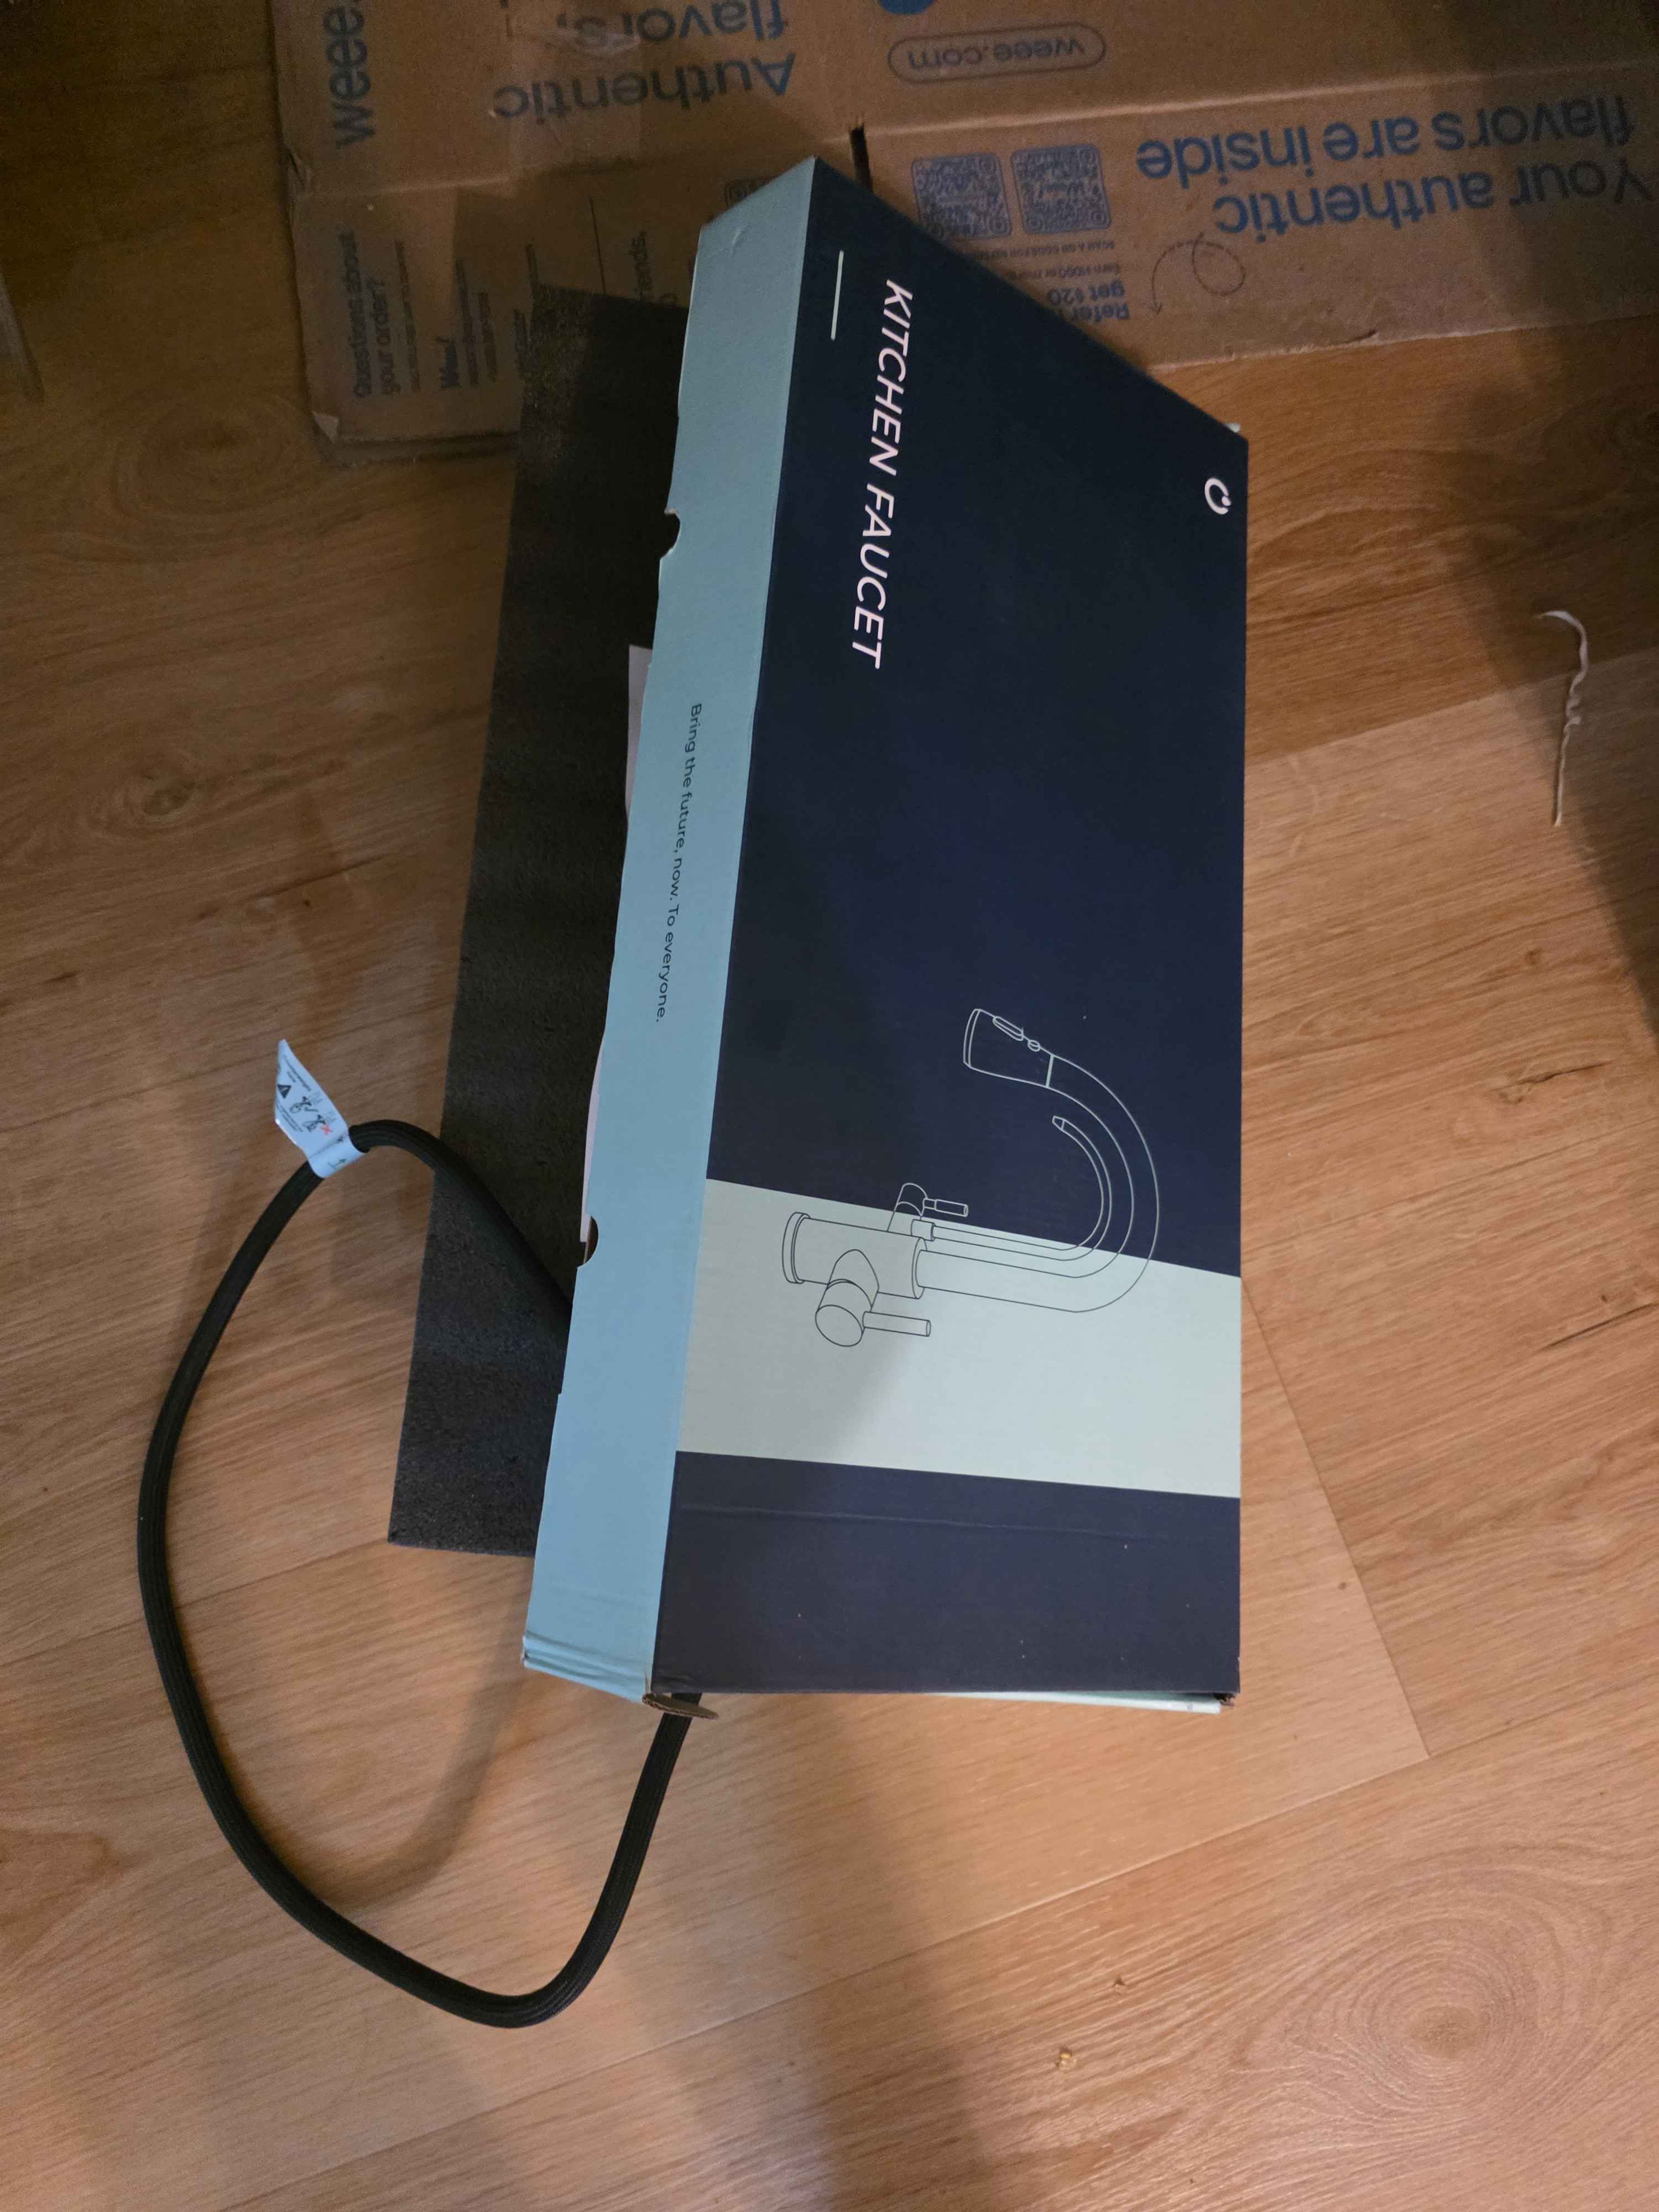
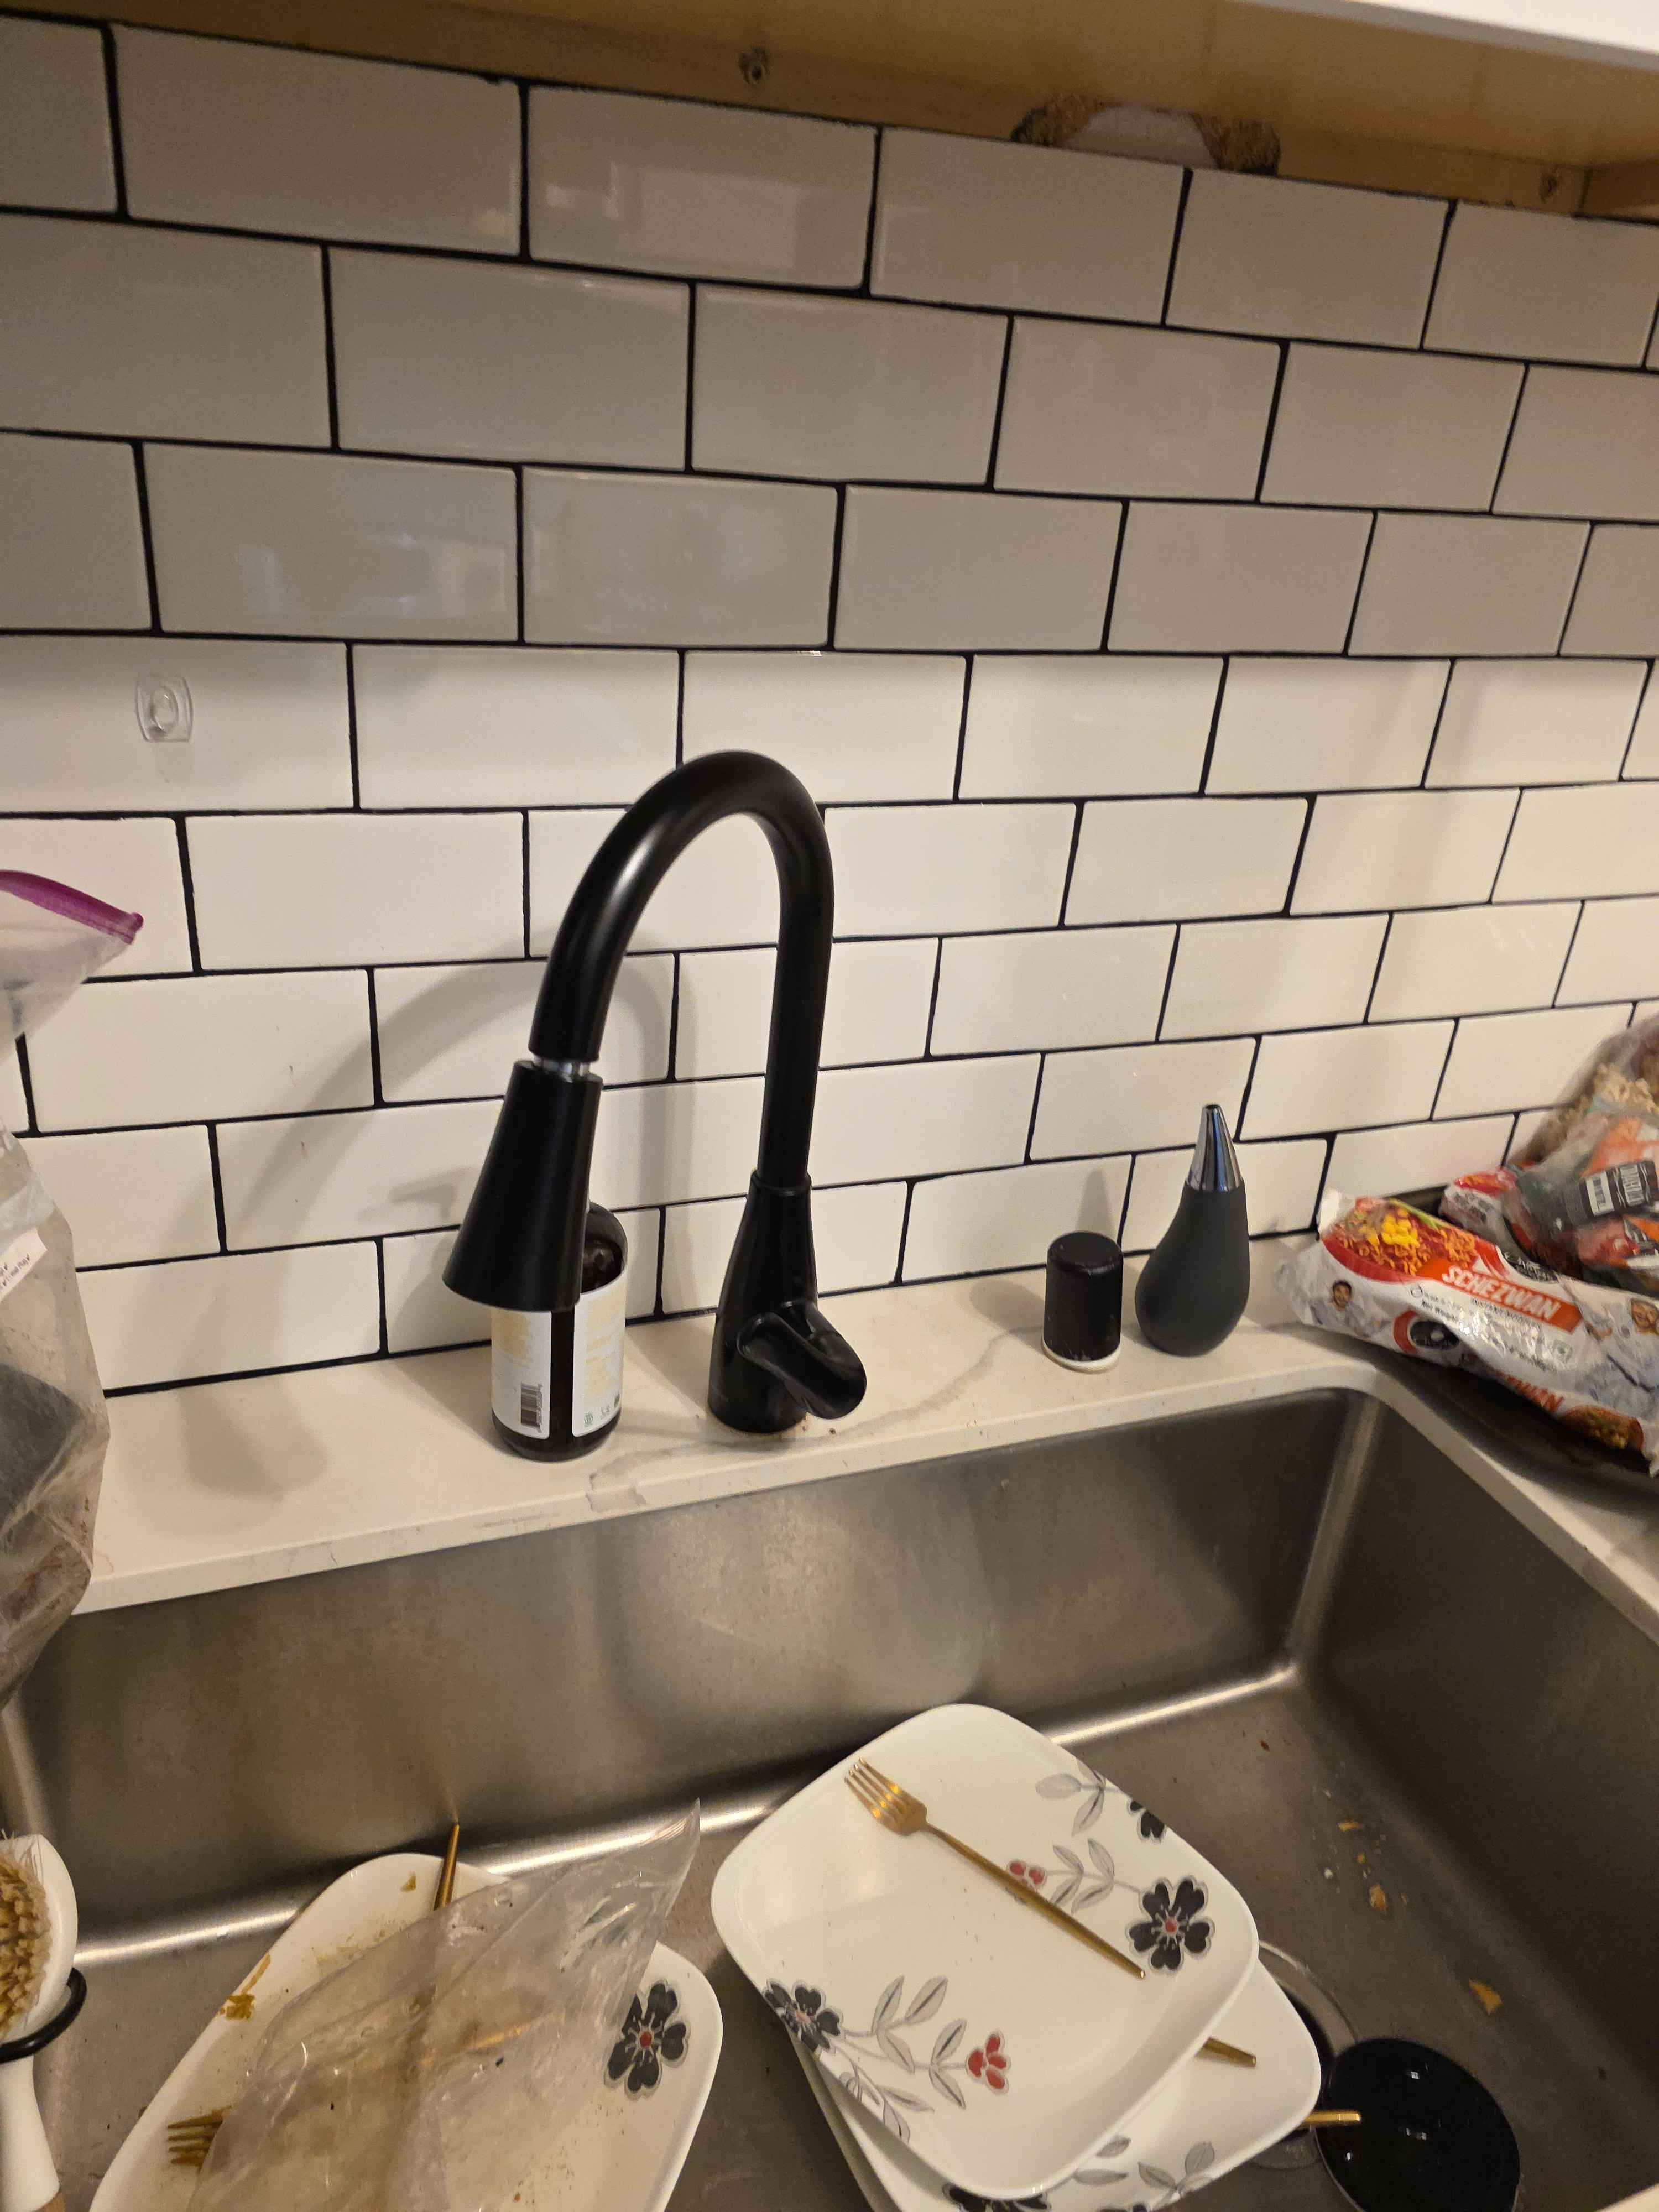
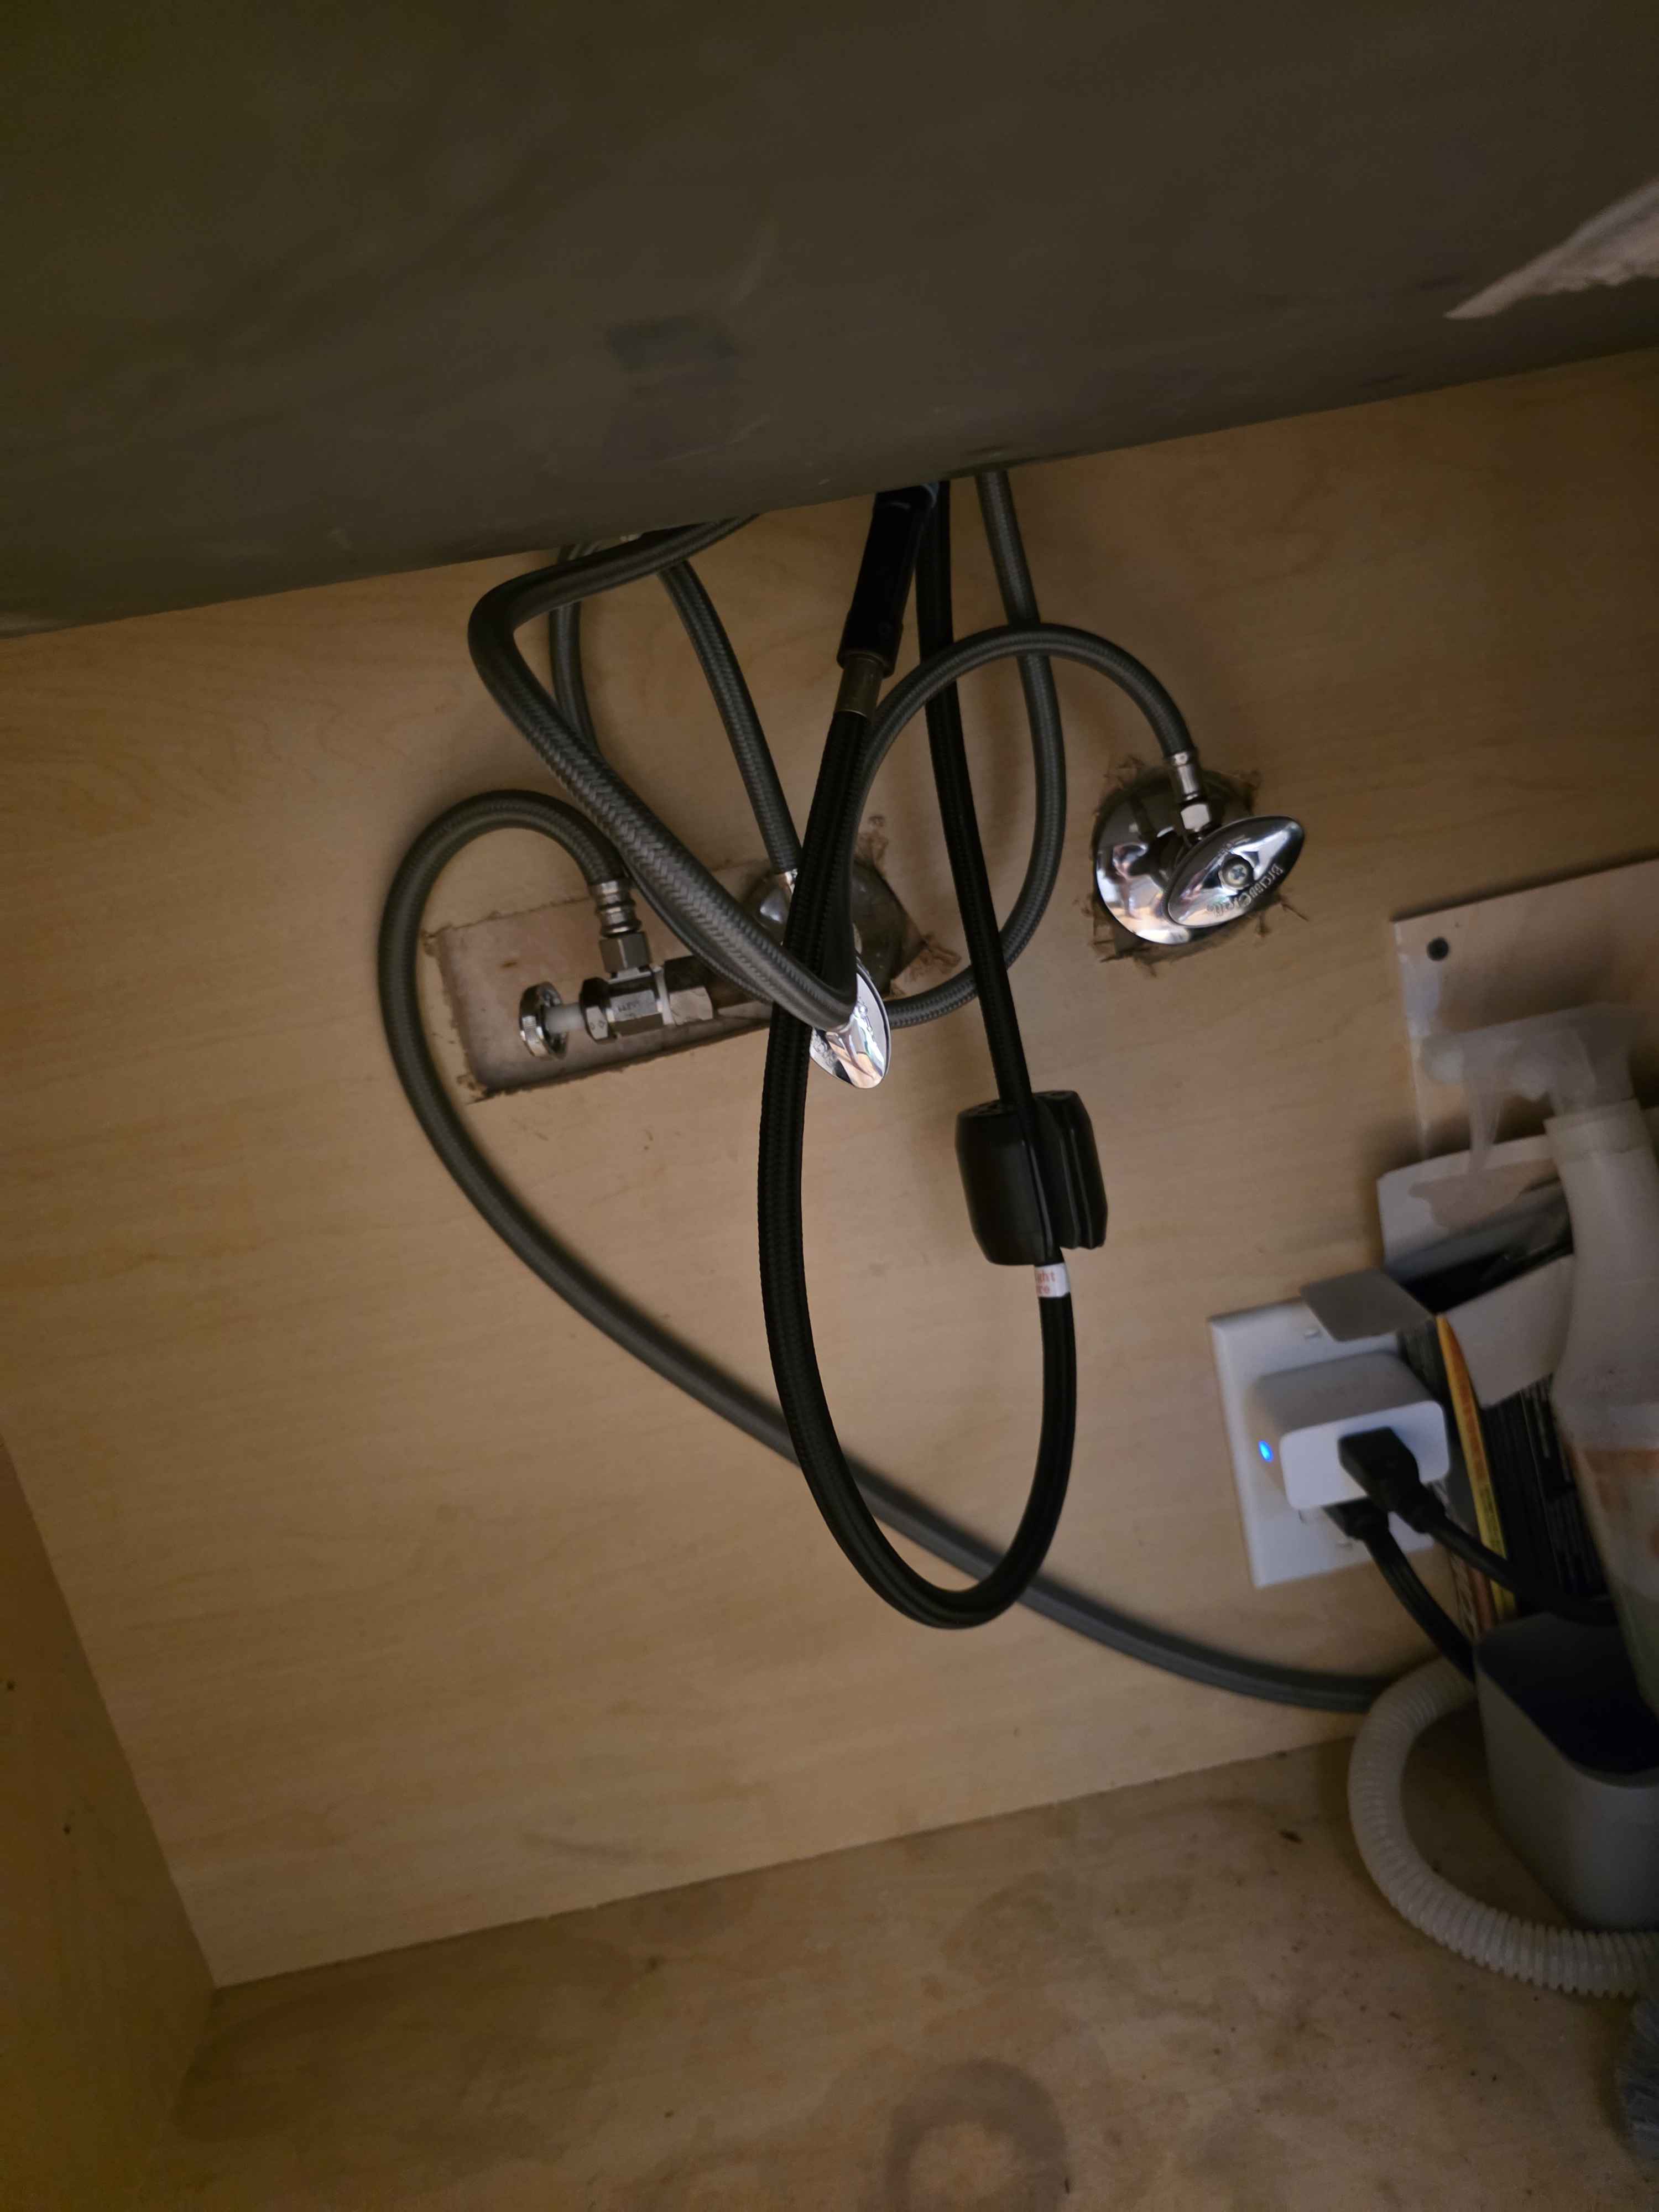
One-page guide for the under-sink install at Sahir & Preksha's place: the tankless Waterdrop G2P600-W (US) reverse-osmosis system plus the new black pull-down kitchen faucet. Includes the photos, answers to Allan's three questions, the drain-hole clarification, full step order, good practices, and manuals.
⚡ TL;DR — Answers to Allan's 3 questions
1. Does the ¼" quick-fit connector work with the ¼" tubing they gave?
Yes. It's a standard ¼" push-to-connect ("quick-fit" / John Guest style) fitting. Cut the tube square, push it in firmly to the printed insertion mark — a partial push is the #1 cause of leaks. To remove: press the collet ring in while pulling the tube. The feed water adapter fits standard 3/8" angle-stop connections (and ½" with the included adapter), so the existing 3/8" stops in the photos are fine.
2. Where does the drain line tap in — before or after the trap?
Before/above the P-trap (sink side), on a VERTICAL section of drainpipe, on the non-disposal tailpiece. Never after the U-bend — everything past the trap is on the sewer side, and tapping there lets sewer gas migrate up the RO drain line into the filter system. In this sink: the disposal is on the right bowl, so the saddle goes on the left bowl's vertical tailpiece, above where the trap starts.
3. What drill bit for the drain hole?
¼" (6.5 mm) bit. Drill one wall of the drainpipe only — do not punch through the far side. Insert the drain tubing about 0.6" (≈15 mm) into the hole, then clamp the two halves of the drain saddle over it, gasket aligned around the hole, and tighten evenly. Manual reference: drain saddle page.
🤔 "Why does a water system even have a drain?" — clarification
Allan's reaction ("What the fuck?") is fair — normal filters don't have drains. Reverse osmosis does, by design: the membrane splits incoming water into pure water (to the RO faucet) and concentrate/wastewater carrying the rejected minerals and contaminants. That reject stream has to go somewhere, and "somewhere" is the sink drainpipe — hence the drain saddle and the ¼" hole. The G2P600 runs roughly a 1.5 : 1 pure-to-drain ratio, which is good for a tankless RO (older systems waste 3–4× that).
It's not optional and it can't loop anywhere else: no drain connection → the system can't flush the membrane → rapid fouling and bad water. The saddle install is genuinely a 10-minute job: drill ¼" hole high on the vertical pipe, stick tube in, clamp, done.
📸 Photos (as received, Aug 25)
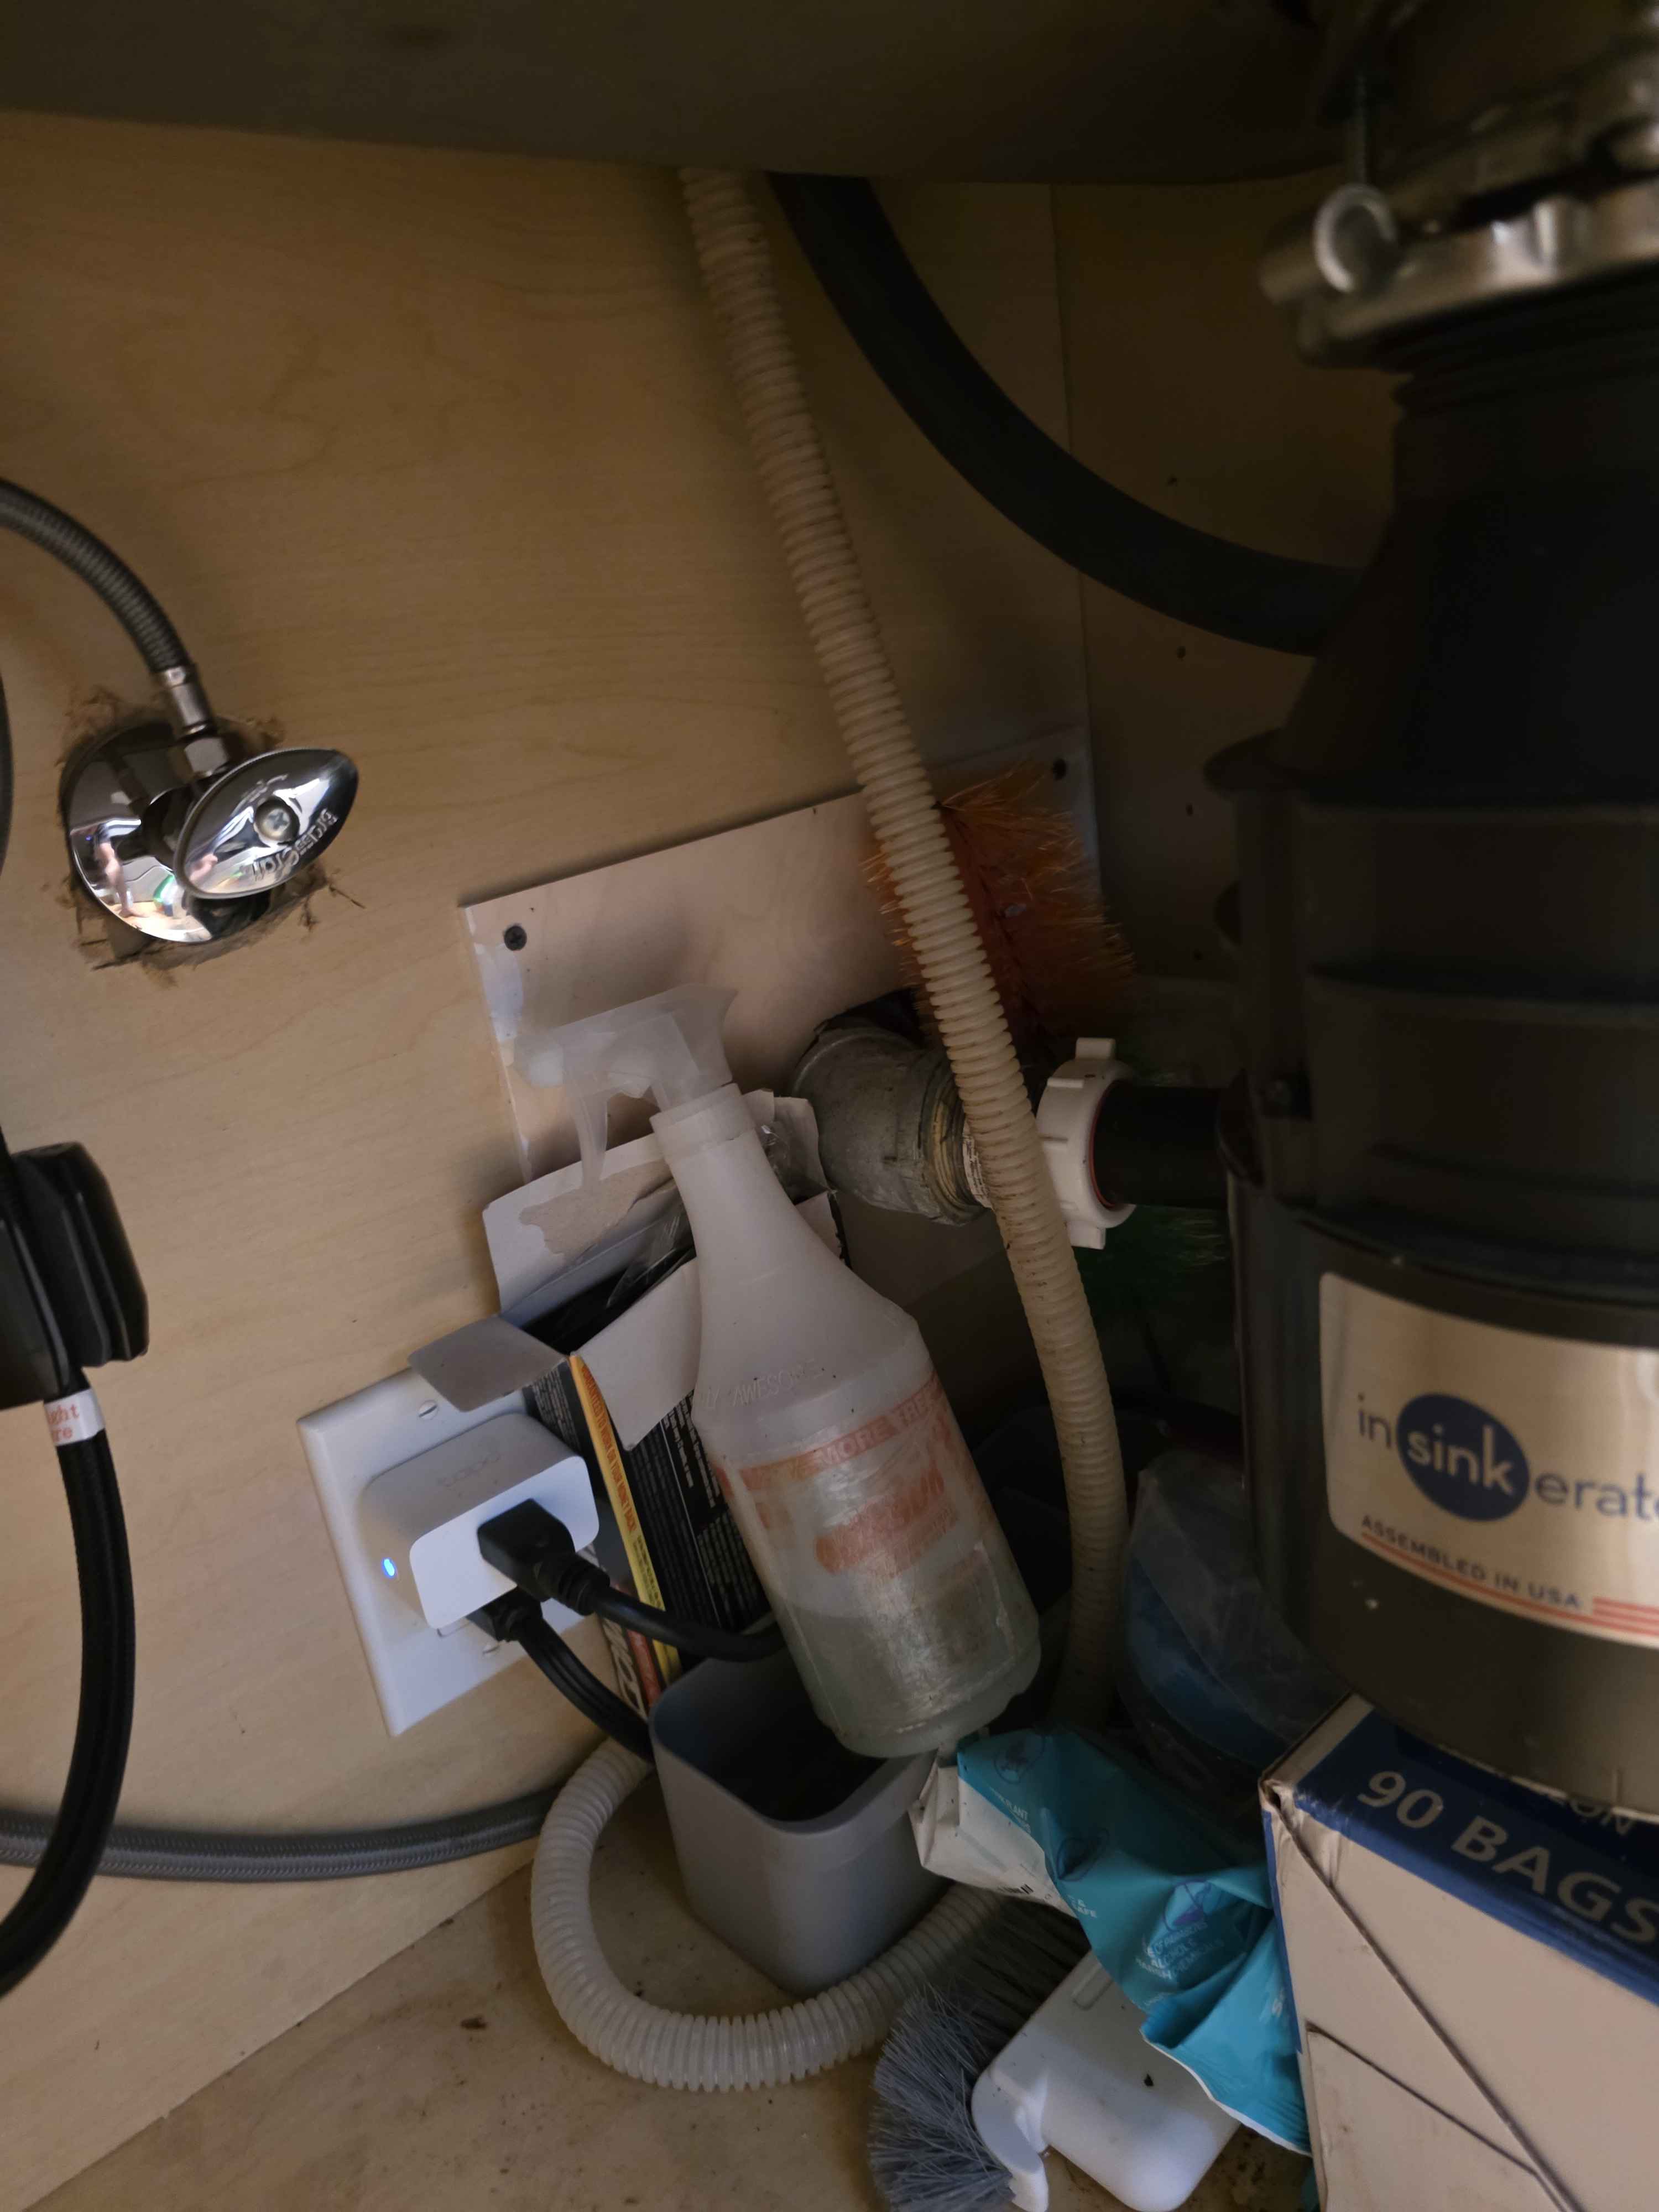

🔧 Install steps, in order
- PrepFinish flushing the lines. Run water until it's consistently clear of black debris (Allan's pressure-blaster trick already dislodged most of it). Only then commit the new faucet.
- FaucetMount the new kitchen faucet — seat the deck gasket, tighten the mounting bracket under the deck, connect hot + cold braided supplies to the angle stops, connect the pull-down hose weight, open stops, check for leaks at all four joints.
- RO feedInstall the RO feed adapter on the COLD line only. Shut the cold stop, break the cold supply connection, thread the feed adapter inline (3/8"), reconnect, and run ¼" tubing from the adapter to the RO unit's feed port.
- DrainDrain saddle: ¼" hole on the vertical tailpiece of the non-disposal bowl, above the trap. One wall only. Tube in ~0.6", saddle clamped over it with the gasket ringing the hole.
- RO faucetMount the dedicated RO drinking faucet on the sink deck — use the spare hole (soap-dispenser knockout) if there is one; otherwise the quartz needs a diamond hole saw (see open decisions). Connect its ¼" line to the unit's pure-water port.
- PowerPlug the unit into the free outlet socket directly — not through the Kasa smart plug. A smart plug toggling off mid-cycle or dropping Wi-Fi is a dumb way to kill an RO pump.
- TubingPush all tubes to their insertion marks, then tug-test each one. Route tubing with gentle bends — no kinks, no compression against stored items.
- First runFirst-use flush per manual: open the RO faucet, power on, and let it run/discard water per the manual's flush procedure (typically ~30 min of flushing; do NOT drink the early output — new membranes shed preservative).
- VerifyLeak check: dry paper towel under every joint immediately, again after 2 hours, and again after 24 hours. Check the drain saddle specifically while the unit is actively flushing.
✅ Good practices
- Cold line only for the RO feed — hot water destroys membranes.
- Square tube cuts. Use a proper tubing cutter or sharp blade; a ragged angled cut won't seal in push-fit collets.
- Insertion marks are law. Every Waterdrop ¼" tube has a printed depth mark; push until it disappears into the fitting.
- Drain saddle high on the vertical run — the more drop below it before the trap, the quieter the drain (less "gurgle").
- Don't overtighten the saddle — snug + even on both screws; crushing the plastic pipe cracks it.
- Keep the smart plug out of the loop. RO wants uninterrupted power; it manages its own standby.
- Leave service slack in the tubing so the unit can slide out for filter changes without disconnecting anything.
- Photograph the final tubing layout before pushing the unit back in — future-you at filter-change time will be grateful.
- Filter reminder: CF (carbon) filter ~6–12 months, MRO membrane ~24 months on this model; the faucet ring/app tracks it.
Debris caution: given the black-debris episode in the supply lines, make absolutely sure the cold line runs clean before connecting the RO feed — that gunk would load the first-stage filter instantly. Flush at the flushing faucet first, then connect RO.
📚 Manuals & videos
🧭 Open decisions
- RO faucet hole: is there a spare sink-deck hole (soap-dispenser knockout)? If not, the quartz counter needs a diamond hole saw — worth confirming before install day.
- Timing: Preksha prefers waiting until Allan is back in person ("don't want problems when I am alone here") — schedule accordingly.
📱 WhatsApp version
💧 Waterdrop RO + faucet install — full guide:
https://artifact.sahirm.com/a/waterdrop-ro-install/

Quick answers for Allan:
1️⃣ ¼" quick-fit = standard push-to-connect (John Guest style). Push tube in to the mark, done.
2️⃣ Drain tap goes BEFORE/ABOVE the P-trap, on a vertical section, on the NON-disposal side. Never after the U-bend.
3️⃣ Drill bit: ¼" hole in the drainpipe. One wall only. Tube goes in ~0.6".

Photos, manuals + install video all on the page 👆